


Are you struggling to accept payments for services on your WordPress site? It can be tricky. See, WordPress makes it fairly simple to get the job done…but not without help from some plugins.
In this post, I’ll show you how to get paid for your services on WordPress using the popular WooCommerce plugin. No matter if you’re part of a law firm, medical office, a consultant, or anyone else looking to accept payment for services, WooCommerce can work for you.

And in this post, I’ll show you exactly how to get set up.
Why Use WooCommerce to Sell Your Services?
Look:
You have a ton of options to accept payments for services using WordPress. That is, you should by no means feel like WooCommerce is your only choice. But I think it’s a good “general purpose” method because it’s:
- Flexible. Want to invoice customers? Want to accept appointment bookings? Want to accept service payments? WooCommerce can do it.
- Free. While you might need to pay for some extensions depending on your needs, the core plugin is free.
- Well-supported. With WooCommerce, you never need to worry about the developer ceasing to support your method of accepting payments.
- Easily integrated. If you’re using something like FreshBooks or Xero for accounting, you can have WooCommerce automatically sync for easy bookkeeping.
Here’s how to do it….
How to Accept Payments for Services With WooCommerce
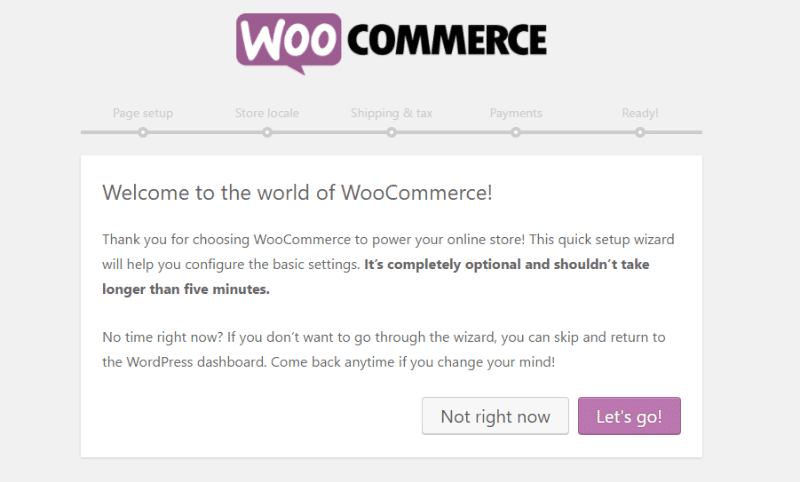
Get started by installing and activating the free WooCommerce plugin. Once you activate WooCommerce, you’ll see a quick setup wizard:
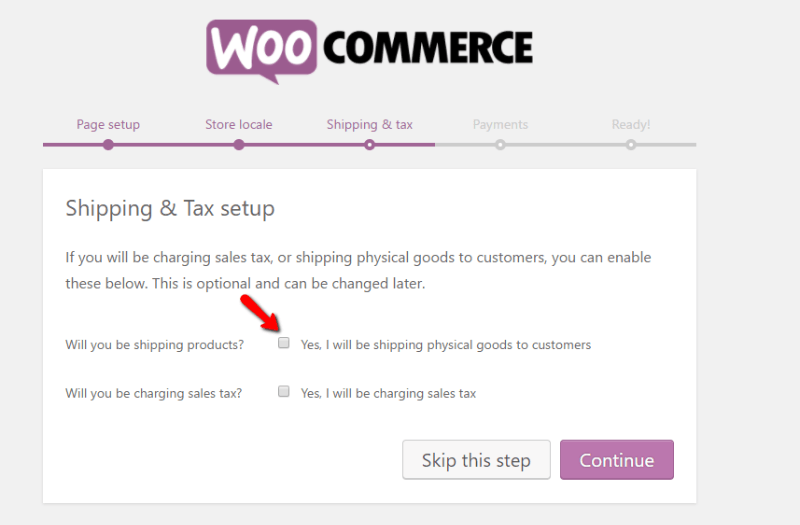
You should run the wizard to set up your basic WooCommerce configuration. Because you’re not selling physical products, you’ll be able to skip some options with regards to shipping and sales tax. When you get to the Shipping & tax part, make sure to uncheck the box for Yes, I will be shipping physical goods to customers:
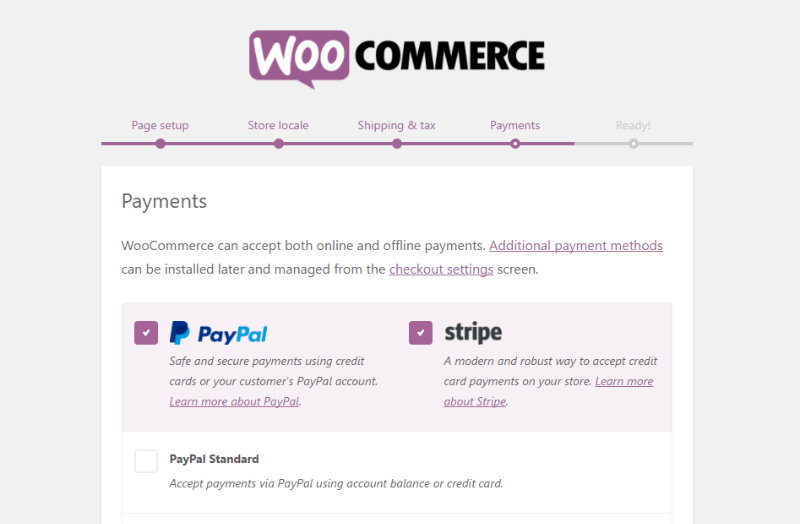
And on the next tab, Payments, you can configure which payment options you want to accept.
If you want to accept credit card payments, I recommend Stripe for its transparent, fair fees. Otherwise, you can also go with PayPal and/or others. Remember – you can pick multiple methods here:
And that’s it! Click the button to Create your first product!

Creating The Listing For Your Service
Ok, now that you knocked out the basics, it’s time to create your product. Though WooCommerce calls it a product, this will actually be the listing page for your service.
For this example, let’s say you charge a flat $50 for a 30-minute phone consult.
At the top of the WordPress Editor, you can enter a title and description for your service:

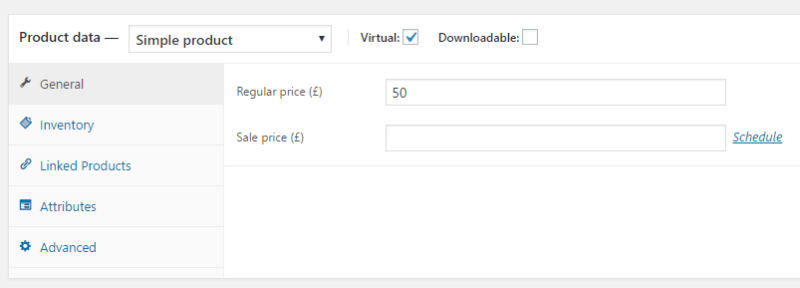
Then, scroll down to the Product data box. This is important because it’s where you’ll mark that this is a service rather than a physical product.
For most services, you’ll want to leave it as the default Simple product and check the Virtual box to mark that it’s a virtual product:
If you only want to allow customers to purchase a single call at a time, you can go to the Inventory tab and check the Sold Individually box:
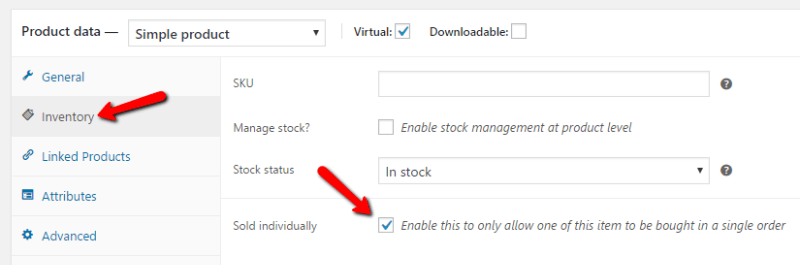
Checking the box is good for services that are “one-off”. For services where your customers might legitimately want to purchase multiple items, you should leave the box unchecked.
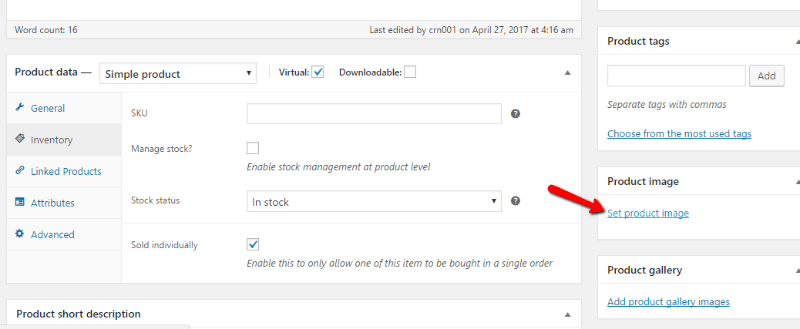
Finally, you should also add some sort of product image:
When you publish your product, you should see something like this on the front-end:

Your customers can add your services to their carts and pay for them through whichever payment gateways you have enabled.
Configuring Your Payment Gateways
During the setup wizard, you chose your payment gateways. But that’s not quite all you need to do. Before you can start accepting payments for your services, you’ll need to finish actually configuring those gateways.
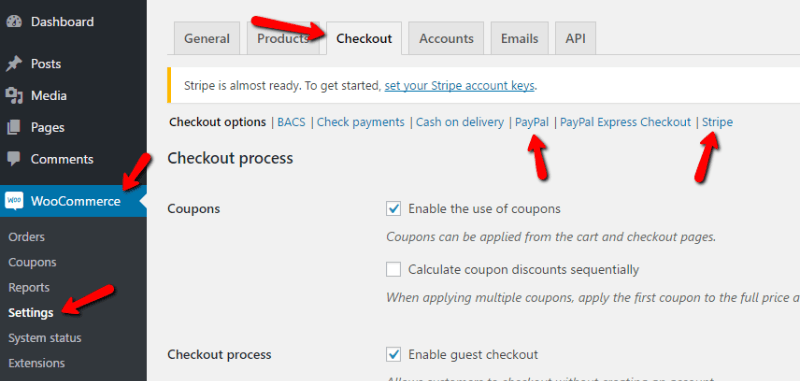
To do that, you need to head to WooCommerce → Settings → Checkout and then choose your payment method. I know that’s a hefty list of steps! Here’s a screenshot to help you out:
What If You Want to Invoice Customers?
The above method is fine if your customers are browsing around your site and want to make the purchase there. But what if you need to invoice a customer directly for one of your services?
No problem! You can do that too. Here’s how:
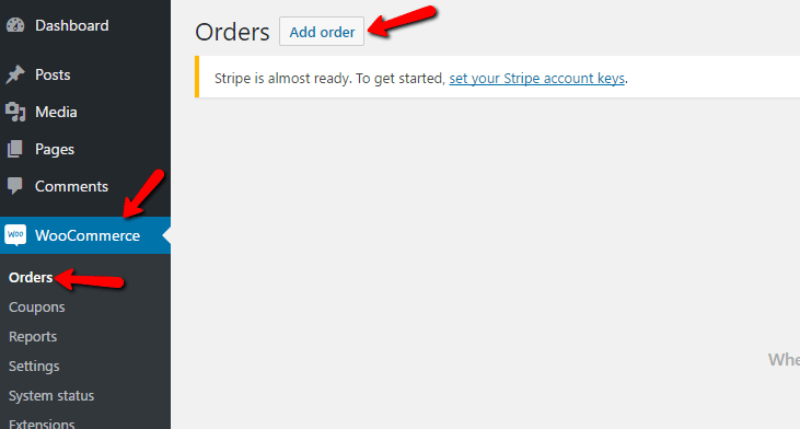
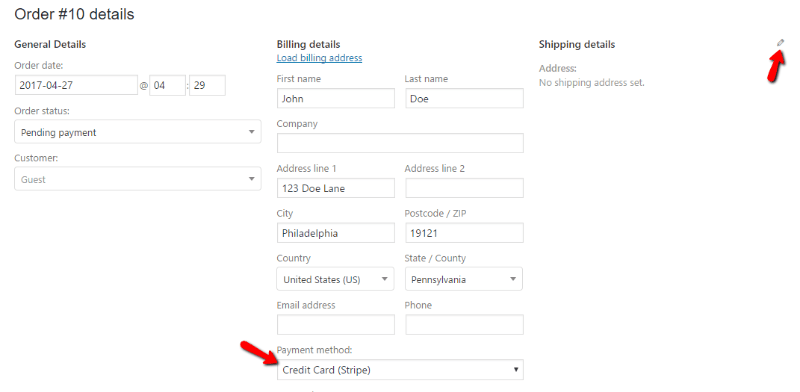
Go to Orders and click Add order:
Here, you can click the pencil icon to add details for your customer, as well as to choose a payment method:
Then, you can choose the items to add to your invoice:
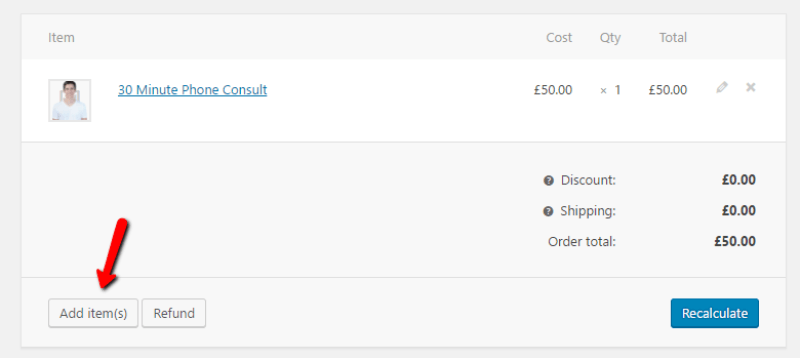
And then you can send off your invoice and allow your customer to pay through the chosen gateway.
What If You Want to Accept Paid Appointment Bookings?
We already featured a post on how to accept unpaid bookings with WordPress. But what if you want to charge people to book an appointment?
For that, you’ll need to turn to a paid WooCommerce extension called WooCommerce Bookings.
At $249 for a single site license, it’s pricey. But it creates a new Bookable type of product that allows customers to select a specific date and time when checking out.
You can add a buffer between appointments and view all of your scheduled appointments in calendar or list format.
Other Options for Accepting Payments for Services
As I mentioned, WooCommerce is great because it’s flexible. But…if you don’t actually need that flexibility, it might be overkill. To that end, here are a couple of other options that apply to narrower uses.
If you just want to accept payments for a single service and don’t need integrations with your accounting software, then using a form builder that allows payments might be a better option. Gravity Forms and Caldera Forms are two good options on that front.
And if all you want to do is send invoices for your services (rather than accepting real-time payments), you’d be better served by something invoice-specific like Sliced Invoices.
Wrapping Things Up
WooCommerce makes it easy to list your services and accept payment via a variety of gateways. If needed, you can even take it further and use WooCommerce to invoice clients, accept bookings, and/or sync up with your accounting software of choice.
Just be aware that you will need a WooCommerce compatible WordPress theme or some custom CSS to make your services payment process look just right.
With that out of the way, you’ll be getting paid for your services in no time!


I successfully integrated PayPal Restapi into a web a yr ago; going abroad I had to disable e-commerce. I have a choice to update or go in another direction, hence my interest in WP & woocommerce.
It would be nice to have a bit more nitty gritty information on the logistics of using stripe & paypal to get paid. For instance clicking stripe is fine but what else do you have to do. i.e how does stripe know who you are & where the money is going? Guess you need to setup account with stripe first; whats involved. To use with a web you need to register use of restapi & get secret keys. What do you need to set up to receive payment using woocommerce & wordpress.